


Create a Roleplay exercise
Learn how to create your own roleplay exercise from scratch.
You can familiarize yourself with editing a community template here or learn to create your own roleplay exercise from scratch.
Let's focus on creating a roleplay from scratch. Roleplays are an excellent way to get your students comfortable having conversations in their chosen language. The interactive nature of Nualang’s roleplay feature allows your students to gain confidence and communicative competence. Creating a roleplay from scratch will enable you to be creative; you can custom fit your content to the needs of your students and class curriculum.
1. Find the roleplay section.
The first step is to select the roleplay option from the left-hand column of Nualang’s home page.

Once you have clicked the roleplay section, you will find a plus sign ‘+’ in the top right-hand corner. Click this plus sign ‘+’ to create a roleplay.

2. Select the Language of study.
The second step to creating a roleplay is to choose the language you are teaching. Pick your preferred language from the drop down-bar.

3. Create a roleplay from scratch
Once you have selected your language, you will be given two options, (a) creating your own roleplay or (b) using a community template. Since we have already familiarised ourselves with community templates in our how-to edit a community template blog post, let’s create a roleplay from scratch!

4. Editing roleplay information
Once you have selected ‘create your own,’ you will be brought to the page where you can edit your roleplay’s information. Here you will be able to give the roleplay a name and description and choose the difficulty level.
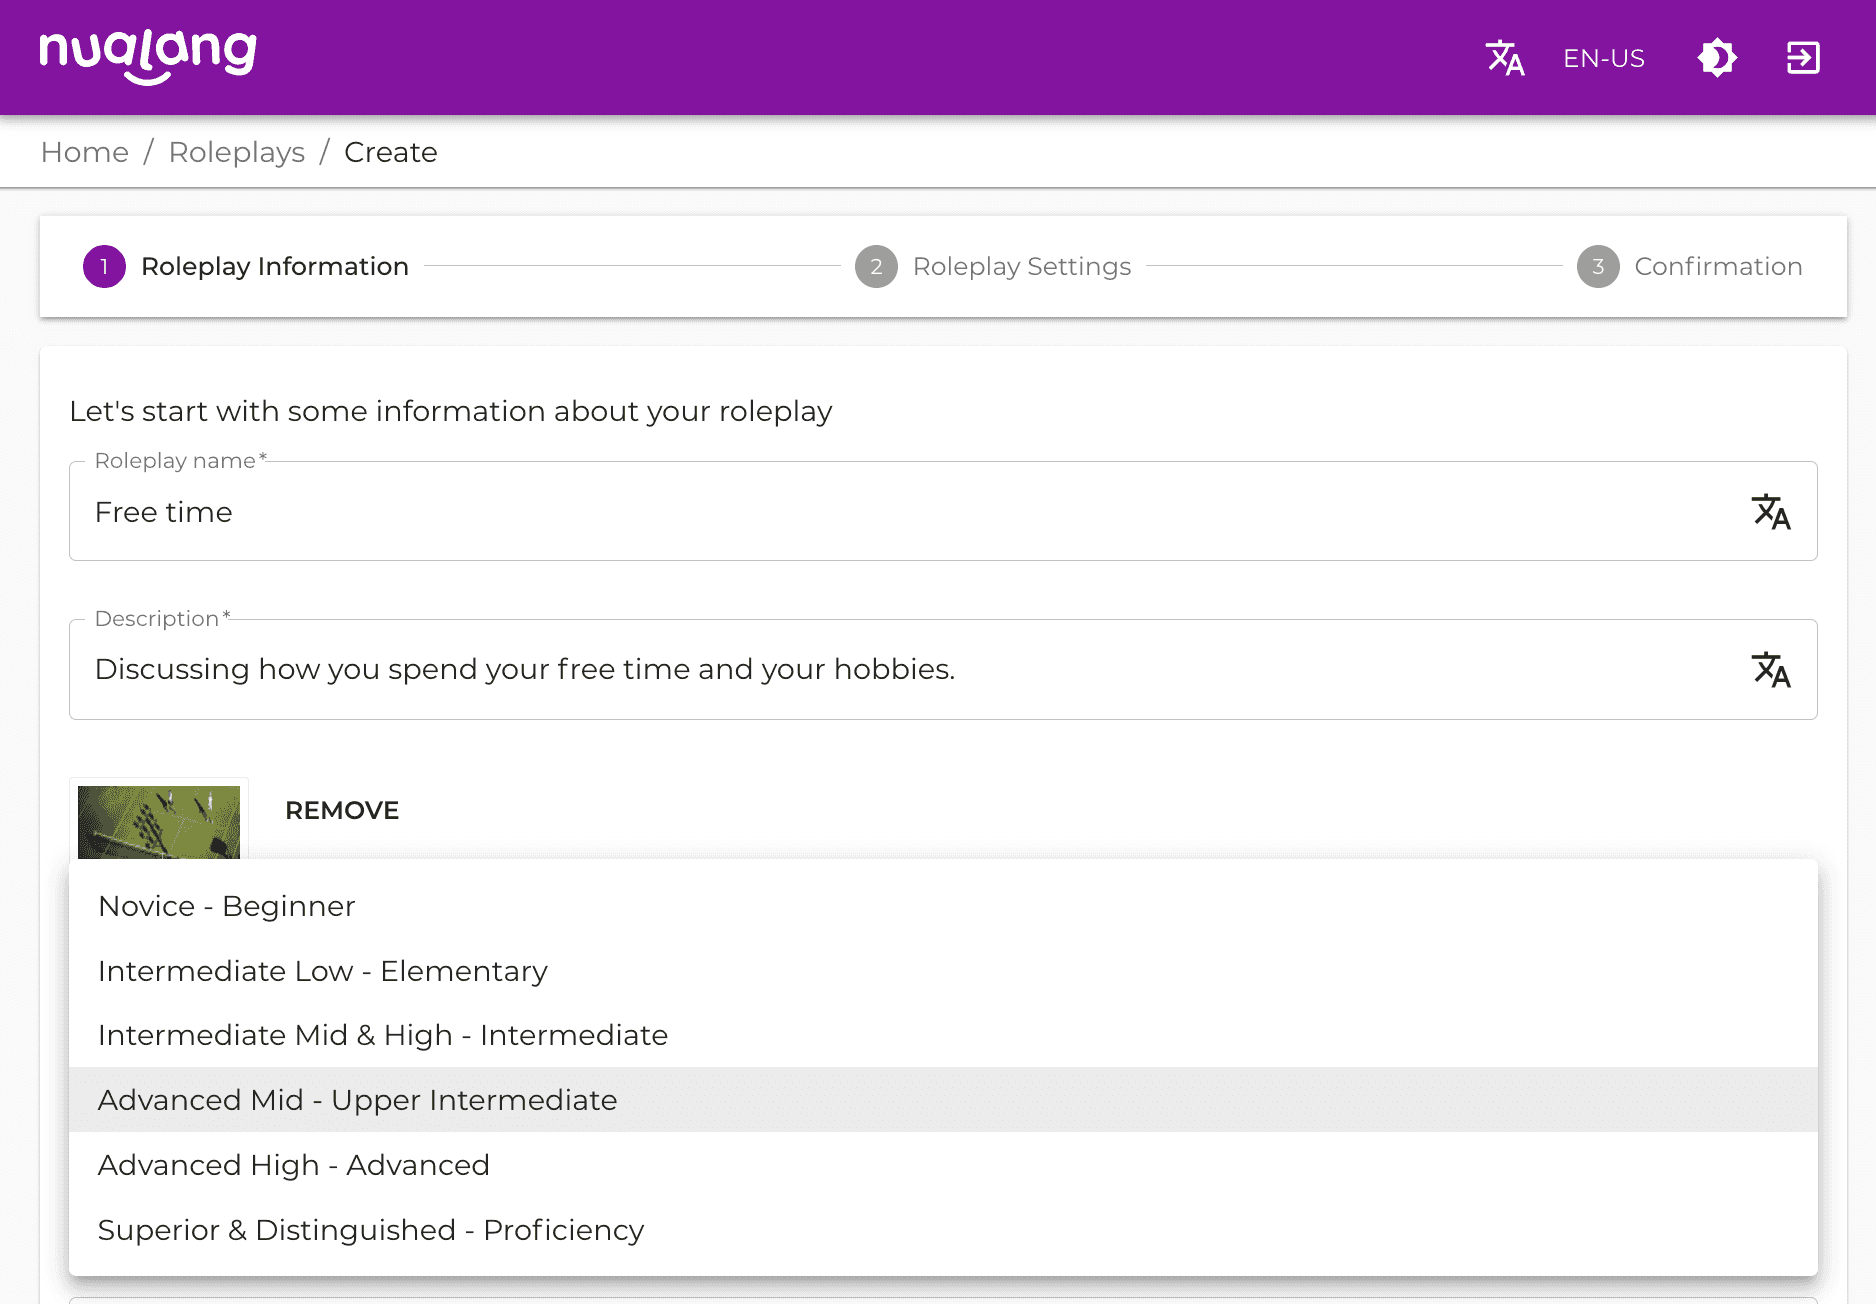
Pick a header image from Nualang’s image library or upload your own for a personalized finish.

You can even pick the name and voice on your Nuala that will be used in the roleplay!

Once you are happy with the roleplay information, click the purple ‘next’ button at the bottom of the page to move on to the next step. Optionally, adding tags can help organize roleplay exercises by subject on Nualang.
5. Select Teacher preferences
After editing the roleplay information, you will also be given the option to edit the roleplay settings, e.g., if the course is private or public, or if the student will be offered multiple choices when completing the roleplay exercise.

Once you are happy with the roleplay settings, click the purple ‘next’ button at the bottom of the page to move on to adding and editing the content of your roleplay.
6. How to add content to your roleplay
Once you’ve filled in the information and edited the settings, you will find yourself on the ‘editor’ page. Here, you can add the content to your roleplay. In the middle of the page, you will see the Nualas you have selected for your roleplay and the ‘Question’ option. For now, let's focus on adding dialogue between The Nualas.

7. Create Dialogue between The Nualas.
Creating a dialogue between your Nualas is super easy. Click on the Nuala you would like to start with and in the space at the bottom of the screen, type what you would like your Nuala to say. When you are happy with it, click the plus button ‘+’ at the bottom right-hand corner of the screen, this will add the text to the roleplay.

The Nuala will automatically select the following Nuala; this way, you can create a dialogue between the Nualas.

You can go back at any time to edit or remove the content while on the ‘editor’ page. Below the text of a speech for a Nuala, you will see the ‘edit’ and ‘remove’ buttons. You will also see two arrow buttons up ‘↑’ and down ‘↓’; these allow you to change the order of the texts within the conversation by moving the text up or down within the exercise.
8. Adding Comprehension Questions
A great way to make sure your students understand the material in the roleplay is to add a comprehension question within the roleplay. Add a question by clicking the purple plus ‘+’ button labeled question to the right of the two Nuala icons. The question can test their vocabulary skills or check if they have understood previous roleplay sections.

When adding a question, you can put in multiple answers for your students to choose from. Click the ‘Correct Answer’ box on the correct answer to the question so that Nualang can inform your students if they have selected the correct answer to the question.

Click the purple ‘Add Question’ box found in the right-hand corner to successfully add the comprehension question to your roleplay.
9. Preview the roleplay.
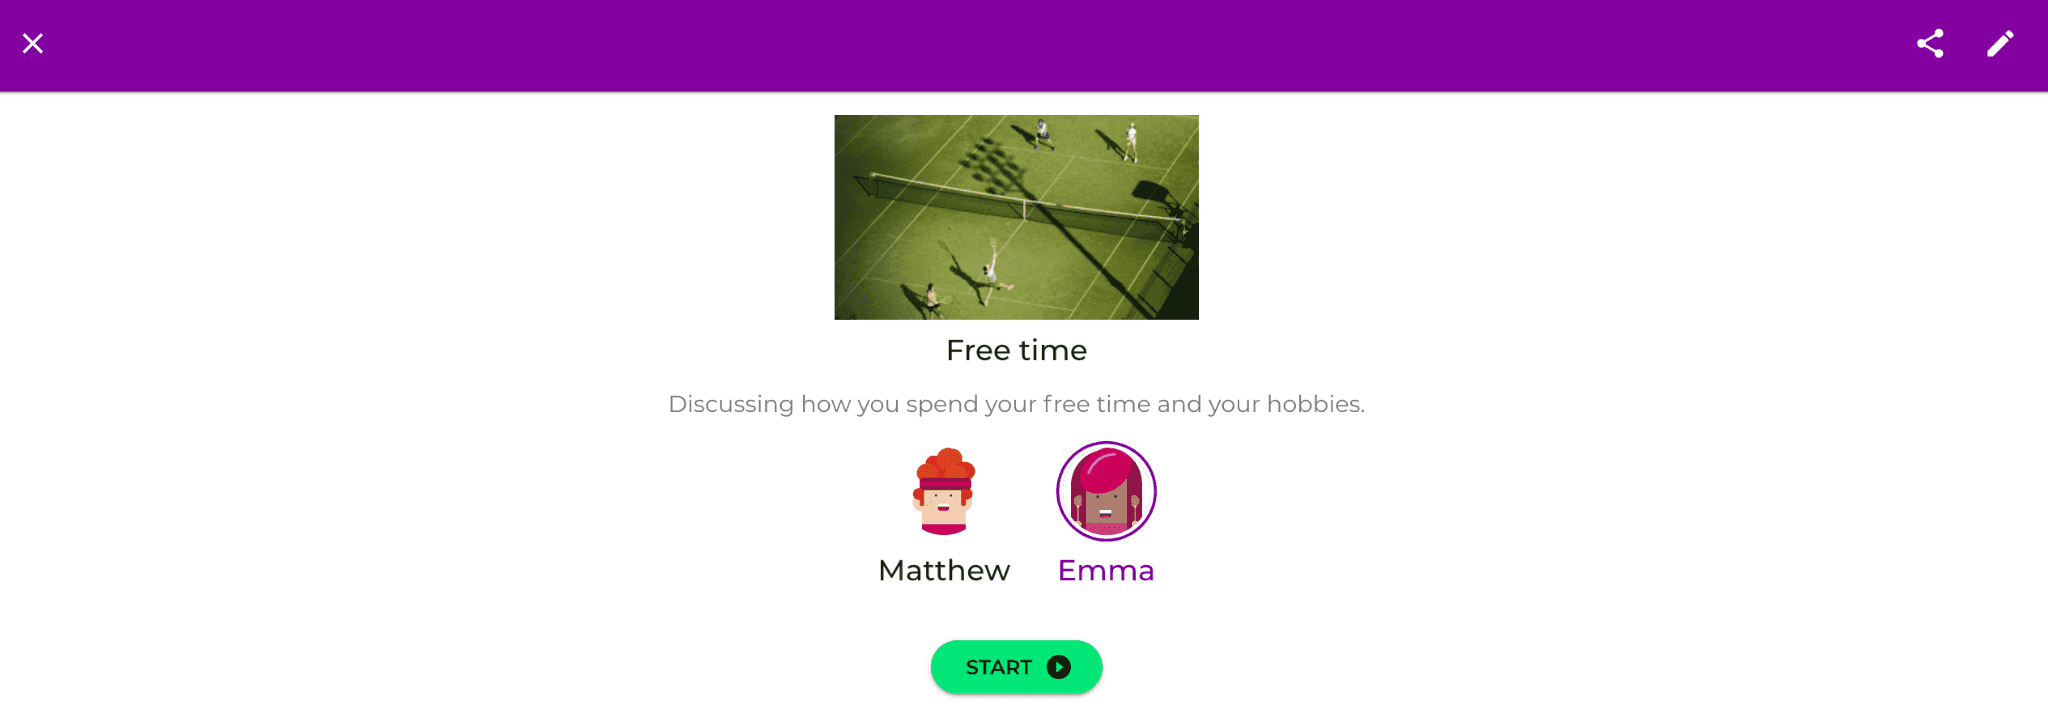
It's a great idea to play through the roleplay exercise yourself once it is completed to make sure it is edited to your liking and is ready for your students to complete. You can find the “play” button at the top right-hand corner of your screen.

The “play” button will bring you to the completed roleplay page; from here, click the green ‘start’ button and enjoy your edited roleplay.
When you have played through your roleplay will be given the option to either Play Again or Quit. You will also see the option to review the report.
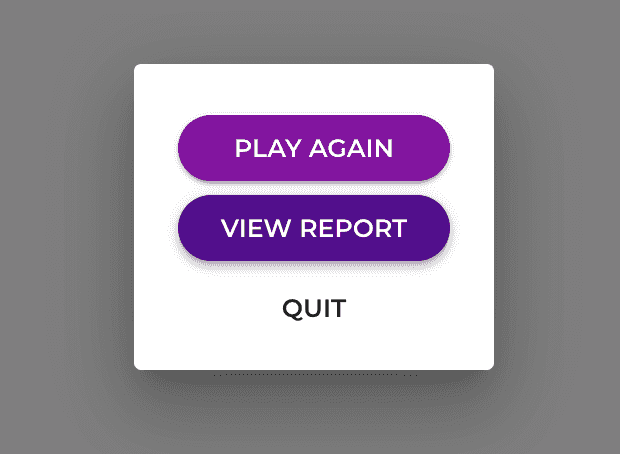
If you click ‘View Report,’ you will find the reporting of the exercise, e.g., how many times it has been completed and the time spent on the exercise. You can even search for a specific time and date or student.

This feature will be helpful later when your students start completing the exercise independently.
10. Where to find your roleplay.
The completed and edited roleplay is added to the ‘teach’ section of the roleplay area on your Nualang profile.

Now it is all ready for your students to enjoy!


